SUP Foiling 101

I’ve been fielding lots of questions on how to downwind SUP foil here in the Gorge. By no means can I claim any status beyond beginner, but I have dedicated time this summer to learning how. Here are my takeaways.
First, throw everything away that you currently know and understand regarding board sports (unless you already kite foil or windfoil)… Foils work in three dimensions underfoot (pitch, roll, and yaw) and it’s best to come into it with a blank slate. Allow for muscle memory through time to pave the path towards success. Before heading out into the wind thinking it’s as easy as Kai makes it look (as I did last summer), get someone to tow you behind a ski or boat. The gear essentials include helmet and impact vest, because you will be taking a digger or two. Get a rope at least 20′ in length, and have a buddy pull you…slowly. It only takes speeds of 8 mph to pop up on foil when you get into the green water off to the side of the boat or ski. Learn how to ‘pop’ up onto foil and shift your weight forward and aft to find that sweet spot. Learn how to maneuver the board left and right with slight adjustments in weight from port to starboard. Most importantly, learn how to fall! Alway push the board away from you when falling off to one side or the other to prevent falling on top of the foil. Once you have it dialed being towed, then it’s off to the river with wind at your back.
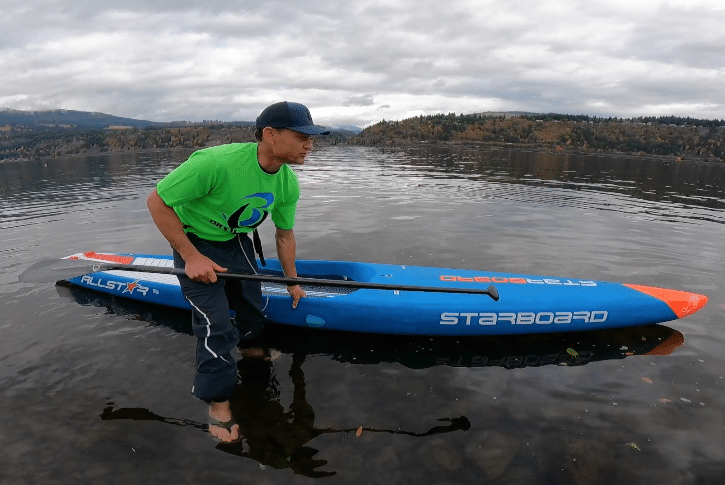
Before I get too deep into your first attempt to SUP downwind on the Columbia, let’s take a moment to talk about gear. Helmet, check…impact vest, yep…leash? You better believe it. Last summer after watching Kai’s video blow up on Facebook, we immediately took a 12’6 x 24” Naish Javelin and chopped it down two feet. After cutting off the tail, and attempting my first run from Lyle to Doug’s, I quickly realized we had also cut off the leash plug. To say the least, I almost lost the board after my first fall, and had it not been for a friend retrieving it for me, I would have been in for a long swim. Wear a leash, I prefer the 10′ coil leash worn around my waist with a quick release (it stays high off the board, and allows me to kneel and paddle without the leash cutting off circulation around my calf or ankle). Paddle length? 2” taller than your standard length. Blade size? Small…you will need quick bursts of energy to catch the swell… I’m using a blade around 80 square inches to prevent elbow and shoulder injuries. Now the most important two parts to the equation. Board and Foil. The Foil is the easy part…use what has been proven to work. The Go Foil Maliko is the ultimate choice for a foil that is built for our conditions on the Columbia. They have been through vigorous testing worldwide, and my chosen foil for ultimate lift and stability. The board is the tricky part as there are very few (if any) production boards on the market built for our conditions in the Gorge. Go Foil offers a tuttle box for $80, and you can virtually plug this box into any board. Like with kite and wind foiling, the board doesn’t really matter once up on foil (have you seen the 112cm board Kai is prone foiling the Maliko run on?!?? Seriously!). But, I will say, it’s nice to learn on something that offers speed and stability. I’ve been working with Rob Braun from Blue Shed Shaping to build a downwind specific shape for the Gorge, and he’s come up with an 8’10 x 30” (135L) and 9’0 x 29” (145L) that has gotten me up to my current point of success. The positioning of the box for the Go Foil is crucial, we found 28” from the tail of the board to the trailing edge of the mast to work. Rob also had NSI build a deck pad with a color coated patch over the box, so when I look down I know where my foot is positioned. So, to summarize gear…helmet, impact/floatation vest, bright jersey for visibility, leash, board and foil. I’ve also been wearing booties to protect my feet too.
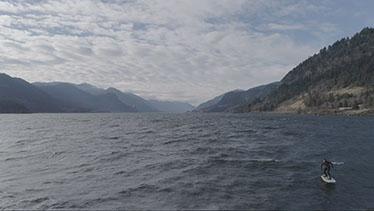
Before heading out for an 8 mile Viento run, pick a short run. Lyle to Doug’s is only 2.2 miles. Tunnel 4 to the Hatchery is under 2 miles. Or, park and play in front of the Hatchery, this has become my go-to. Pick a day when the wind is blowing 7m (for you kiters), or 4.0 (for you windsurfers), or averaging 20 mph. You need bumps more than you need the wind, but wind is required to build those bumps! When carrying your board to the water, have the board on your downwind side, and carry the foil with your upwind hand. When entering the water, put the board upside down and wade out to waist deep before flipping the foil into the water. Double check your leash tether, and attachment (I can’t stress enough the importance of keeping your board attached to you, and loose tethers or inappropriately tied tethers seem to be the cause of many lost SUP’s when downwinding here in the Gorge). To get up on foil is more about timing the larger swell than paddling your ass off to get up to speed. Look over your shoulder, look side to side, try to locate the area where the swell is steepest and go there. That might mean waiting it out for the “next set”, and picking it off like you would in the surf line up. It takes a few attempts to feel how much speed it requires to get on foil, and when you have this dialed, that’s when things start to click. Pump the board when you feel the bump. Get the board to lift a bit and look left and right to decide where you want to take your building speed. Once up on foil, be sure to flatten out your board, and try to maintain speed. If you slow down, that’s when you need to pump the board.
There has been a lot to learn, and it’s a humble progression, but one that keeps making me come back for more. Just like when I was trying to learn how to kite foil 5 years ago, and getting spanked from the beginning, downwind SUP foil has that similar learning curve. You may not get up on foil your first 2, 3, even 4 sessions, but the more time and effort you put into it, the quicker the learning curve begins to escalate. Learning improves with experience, so keep paddling, and never give up!0px 10px;”>


